

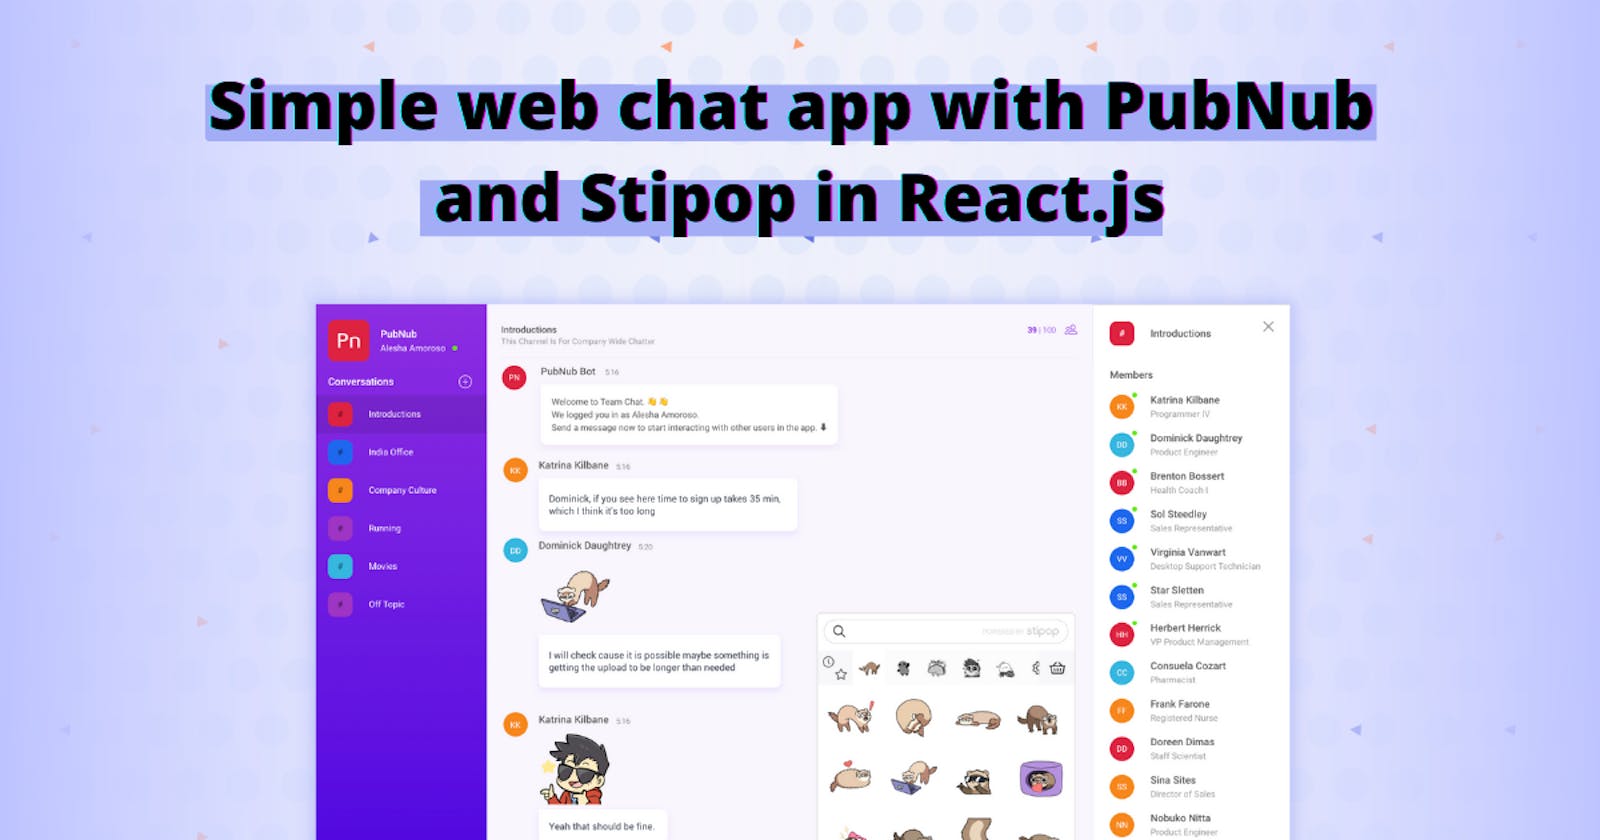
Simple web chat app with PubNub and Stipop in React.js
Let's build a web chat app! We will walk you through every step of creating a chat application with fun stickers in React.js with PubNub and Stipop.


Hi everyone 🙋🏻♂️
My name is Vedant, and it is time to build another app! Did you know that over 900,000 developer projects are built with PubNub?(Source) This seems like a good reason to give it a try, and today we are going to add another project in and build the PubNub React.js chat app.
As it has already become a tradition, we will also see how to add Stipop stickers for an awesome chat experience in our PubNub chat app, following this PubNub blog and PubNub integration section.
About PubNub
If you are not familiar with PubNub yet, that’s okay! Here is a quick introduction for you. PubNub is a developer platform that provides many good API-based features for messaging and not only messaging projects, including in-app chat, push notifications, live events, geo-tracking, etc.
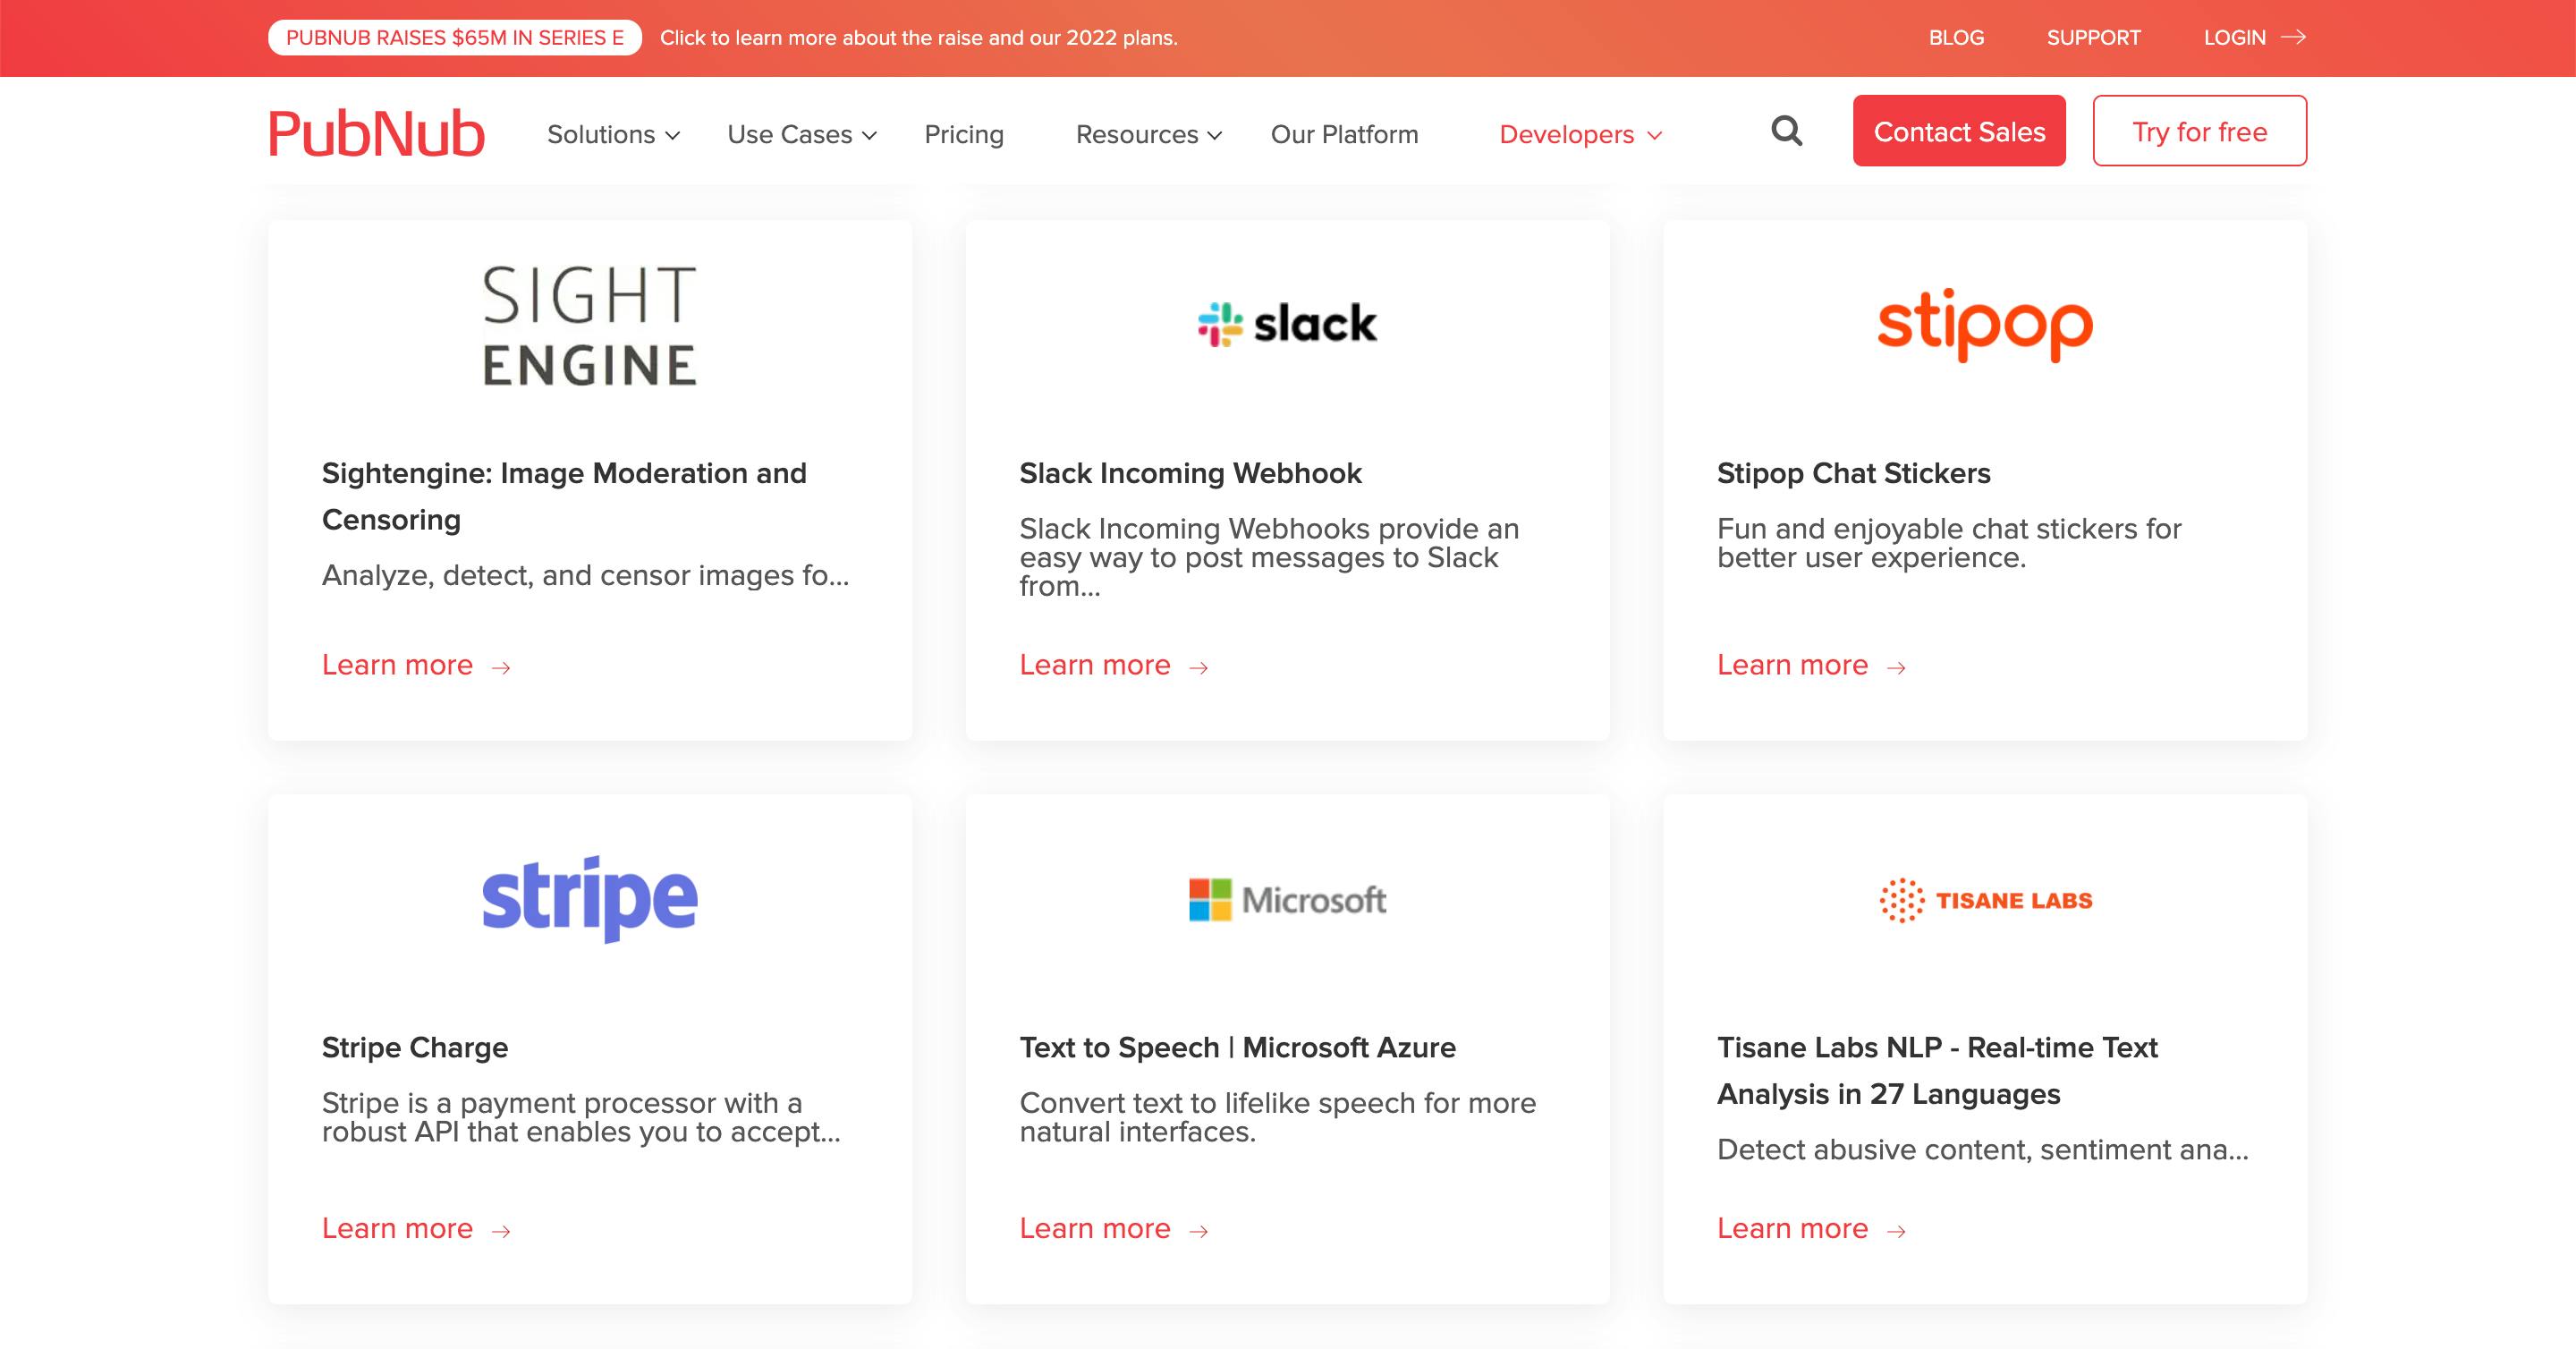
PubNub integration section offers access to a wide variety of trusted third-party services like Slack, Agora, Microsoft, Twitter, and Stipop.
In case you are looking for PubNub alternatives, check this article. In case you are not, let’s begin!
What we need
- Node v12 +
- npm v6 +
- React.js and Typescript
- Basics of PubNub Functions
👉 If you want to see the full source code go here.
Getting started with PubNub
We will start with creating a free PubNub account to get PubNub API keys.
- Go to PubNub Dashboard and create an account
- Log in and create an app
- Click on Create New Keyset.
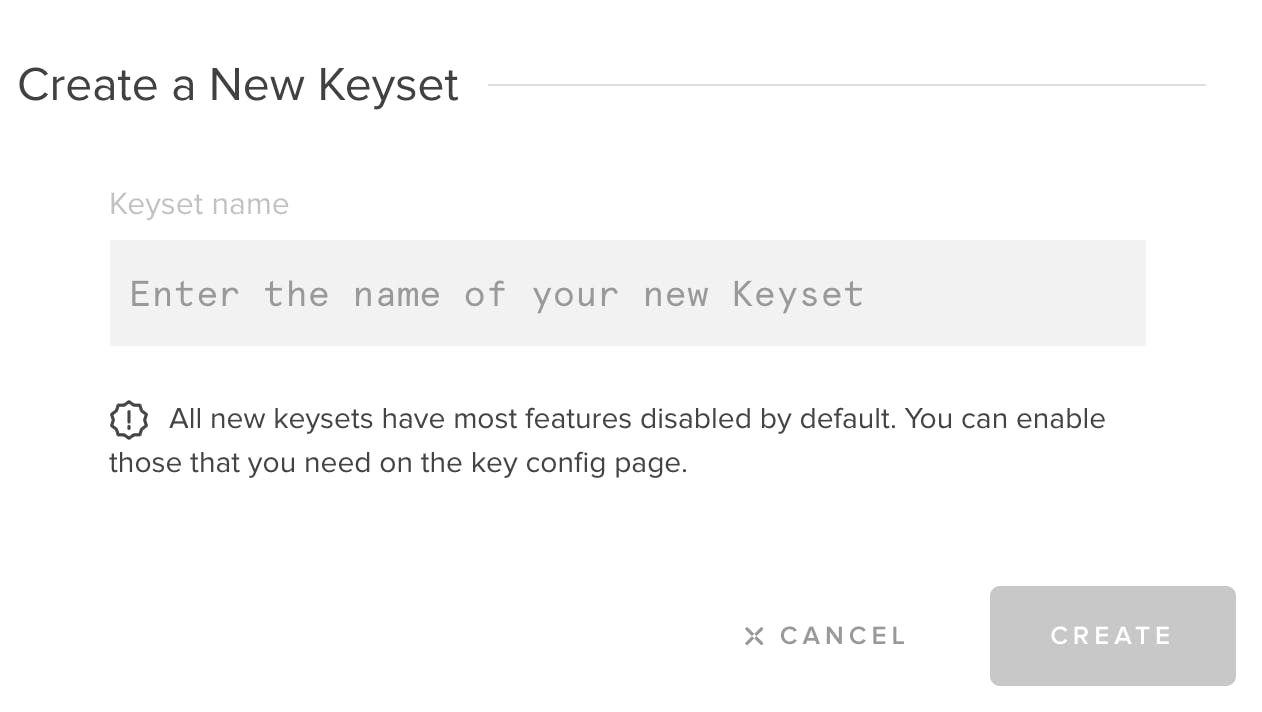
Once created, you will see the Publish Key, Subscribe key, and Secret Key. We will need them for the next steps.
Configure PubNub Dashboard
Now we need to enable a few parameters in the PubNub Dashboard. To do that, click on Keysets present in the hamburger menu and choose the app you created in the above step.
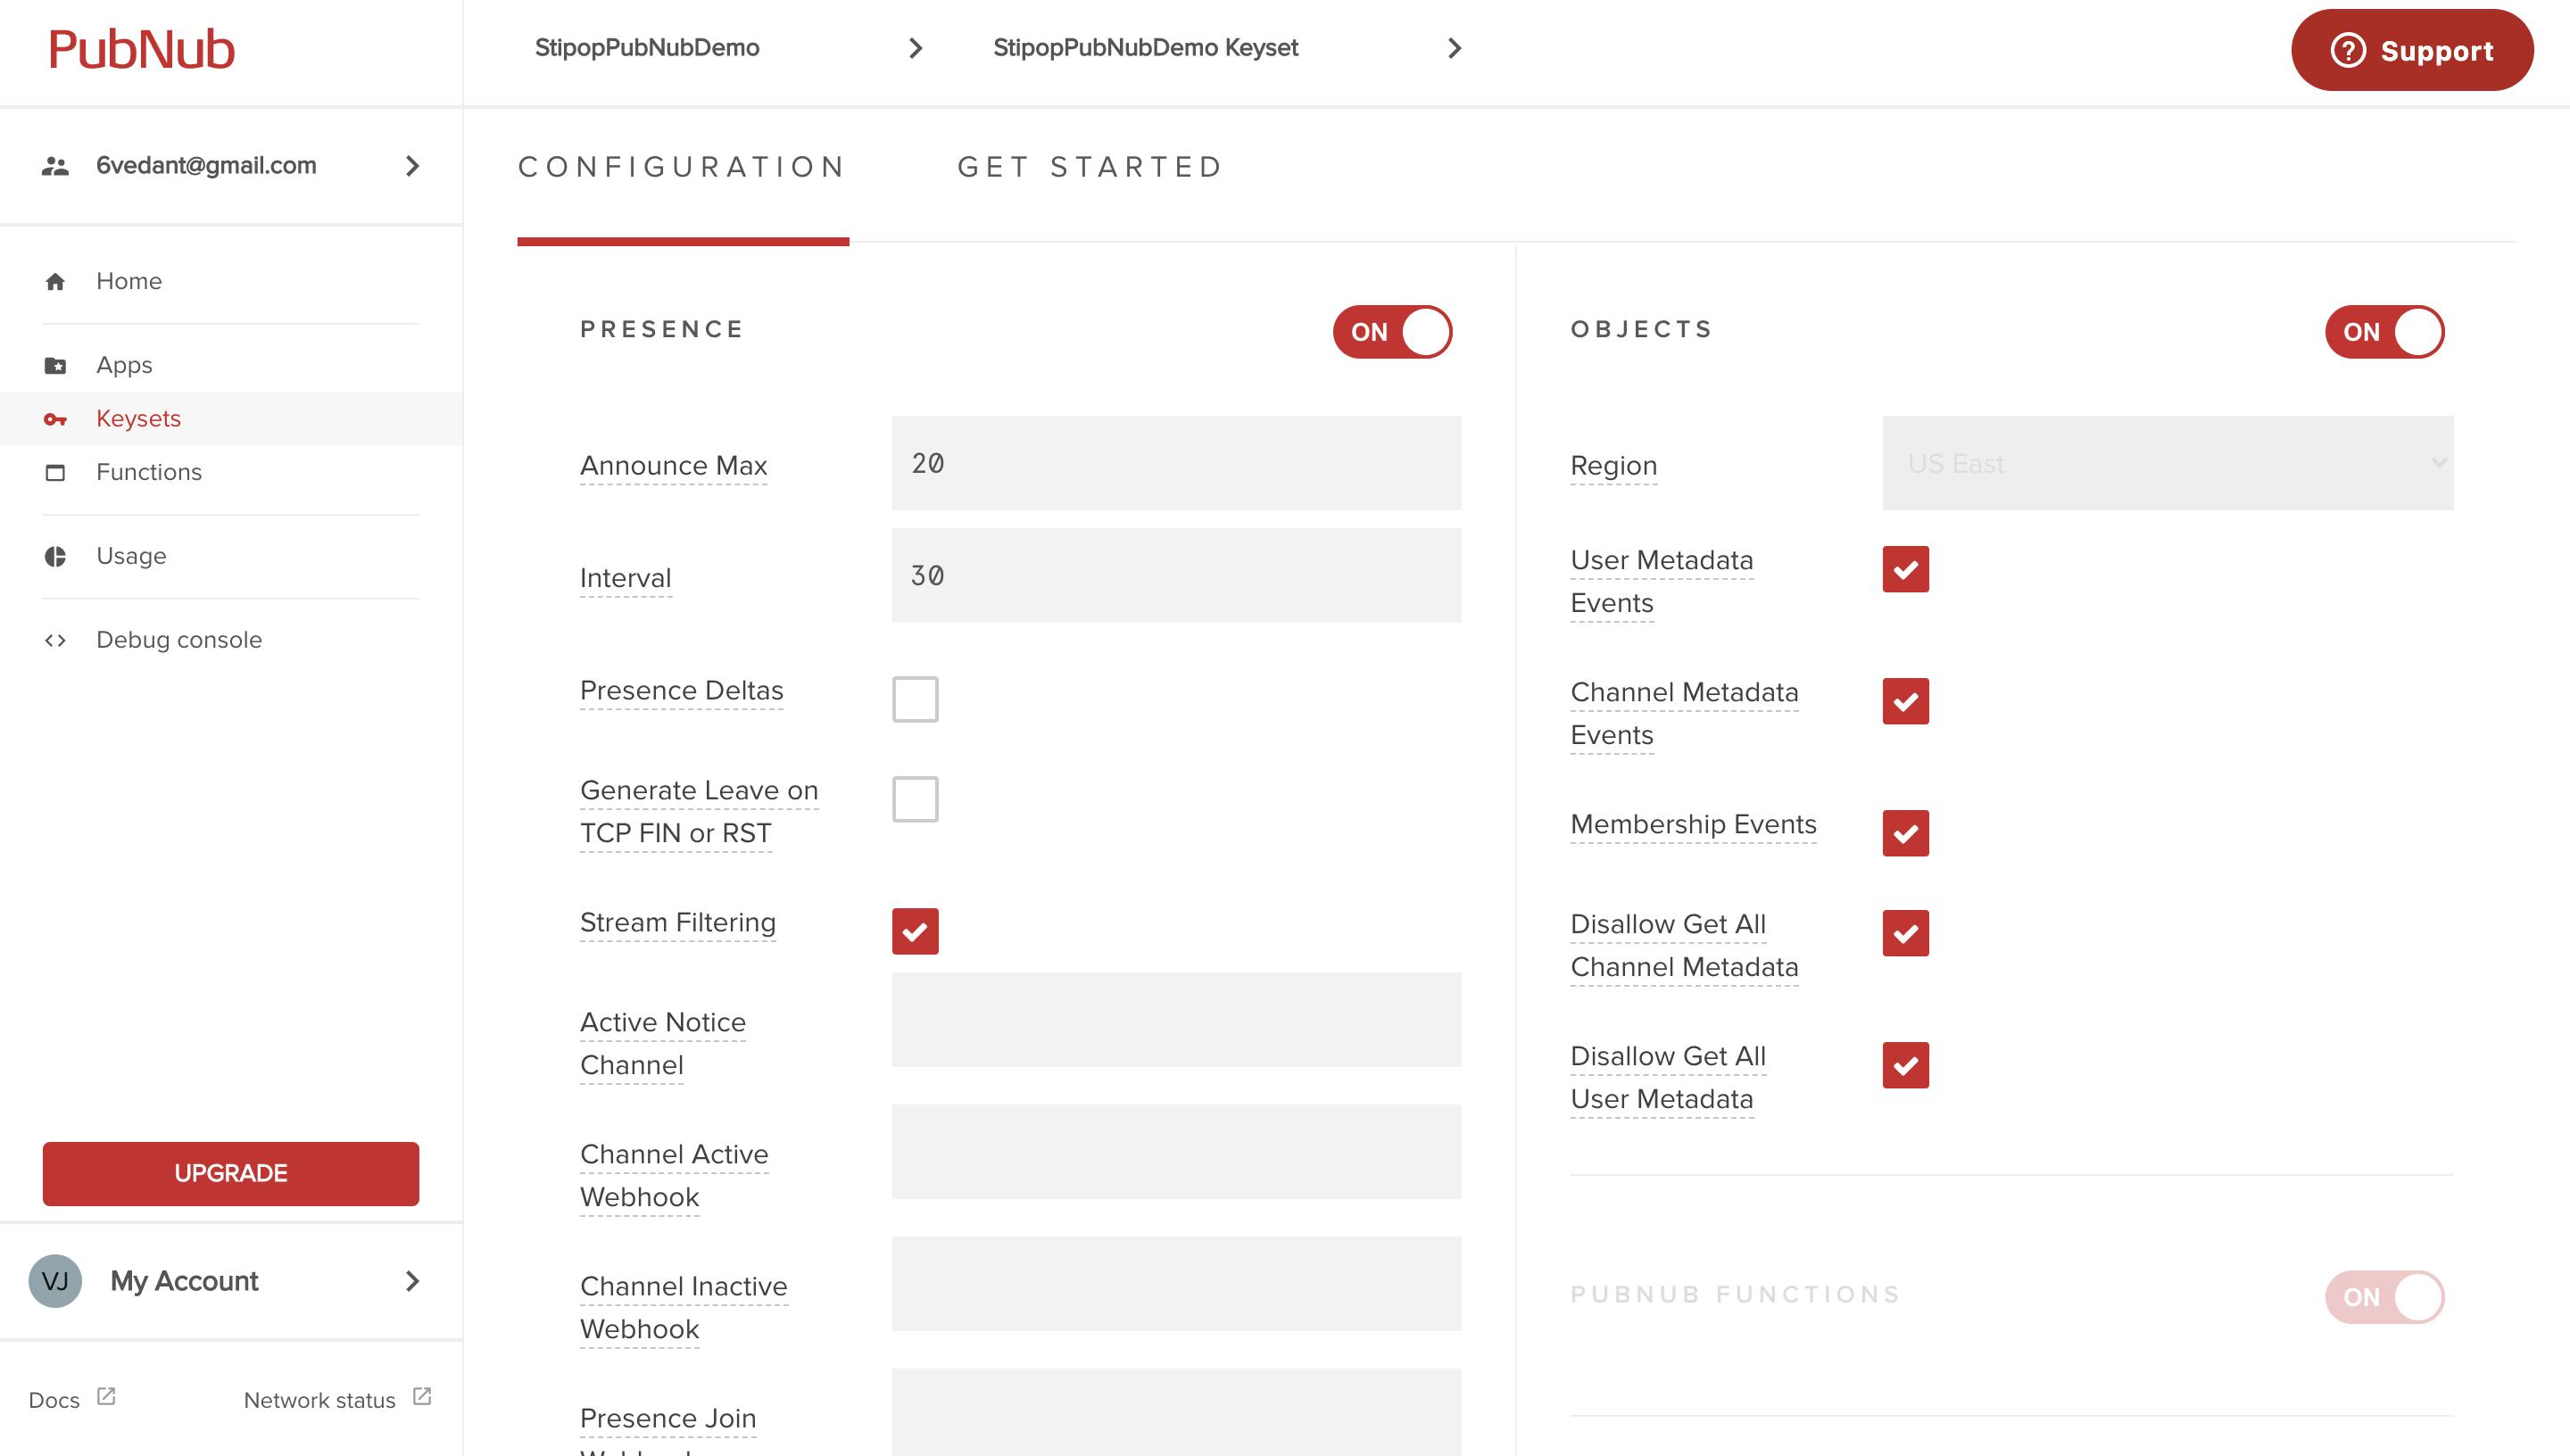
We need to make sure that the PubNub Function is enabled. We will also enable the OBJECTS tab by choosing the Region. You can also scroll a bit down to enable the Storage & Playback, Files, and Stream Controller.
If you want push notifications in your web/mobile app, you can pass the FCM/APN keys here.
Clone the chat app
PubNub provides a basic wireframe to get started with a web chat app, so we won’t have to create anything from scratch. Instead, we will clone the basic typescript chat app.
git clone https://github.com/pubnub/typescript-ref-app-team-chat.git
After the successful clone operation, open the repository in Visual Studio Code or any editor of your choice. Navigate to the terminal and enter the following commands:
cd typescript-ref-app-team-chat
npm install
It will start building the project by installing the necessary dependencies. If you get any console error, make sure to update the node & npm version to the latest one.
Code mode ON
App.tsx contains the main components for the entire web application. We will now import all necessary ones that we will use for initializing the PubNub configurations.
import Pubnub from "pubnub";
import { createPubNubListener } from "pubnub-redux";
import { PubNubProvider } from "pubnub-react";
import keyConfiguration from "config/pubnub-keys";
We will use these to add the PubNub listeners for authentication and handling events.
const pubnub = new Pubnub(pubnubConfig);

const store = createAppStore({
  pubnub: {
    api: pubnub
  }
});
Now let’s use the PubNub instance to start listening for PubNub event triggers.
useEffect(() => {
    pubnub.addListener(createPubNubListener(store.dispatch));
    pubnub.addListener(createTypingIndicatorsListener(store.dispatch));
    return leaveApplication;
  }, []);
Additionally, we will use the PubNubProvider to contain our entire web application to inject the events data into its sub-components. You can have a glance at a similar implementation in App.tsx.
<PubNubProvider client={pubnub}>
    <ApplicationRouter />
</PubNubProvider>
The next important thing is to make sure that PubNub is configured correctly in ApplicationRouter. Navigate to App / src / main / Router.tsx and add the code below.
import keyConfiguration from "config/pubnub-keys";
import isPubNubConfigured from "foundations/utilities/isPubNubConfigured";
export const ApplicationRouter = () => {
  const loggedIn = useSelector(isUserLoggedIn);
  const view = loggedIn ? <ChatUI /> : <Login />;
  return (
    <Wrapper>
      {!isPubNubConfigured(keyConfiguration) && ErrorBannerComponent}
      {view}
    </Wrapper>
  );
};
It checks if the user is authenticated and displays the ChatUI. If they are not, they will see the Login page. The PubNub configuration wrapper is required to display the right view component.
App testing
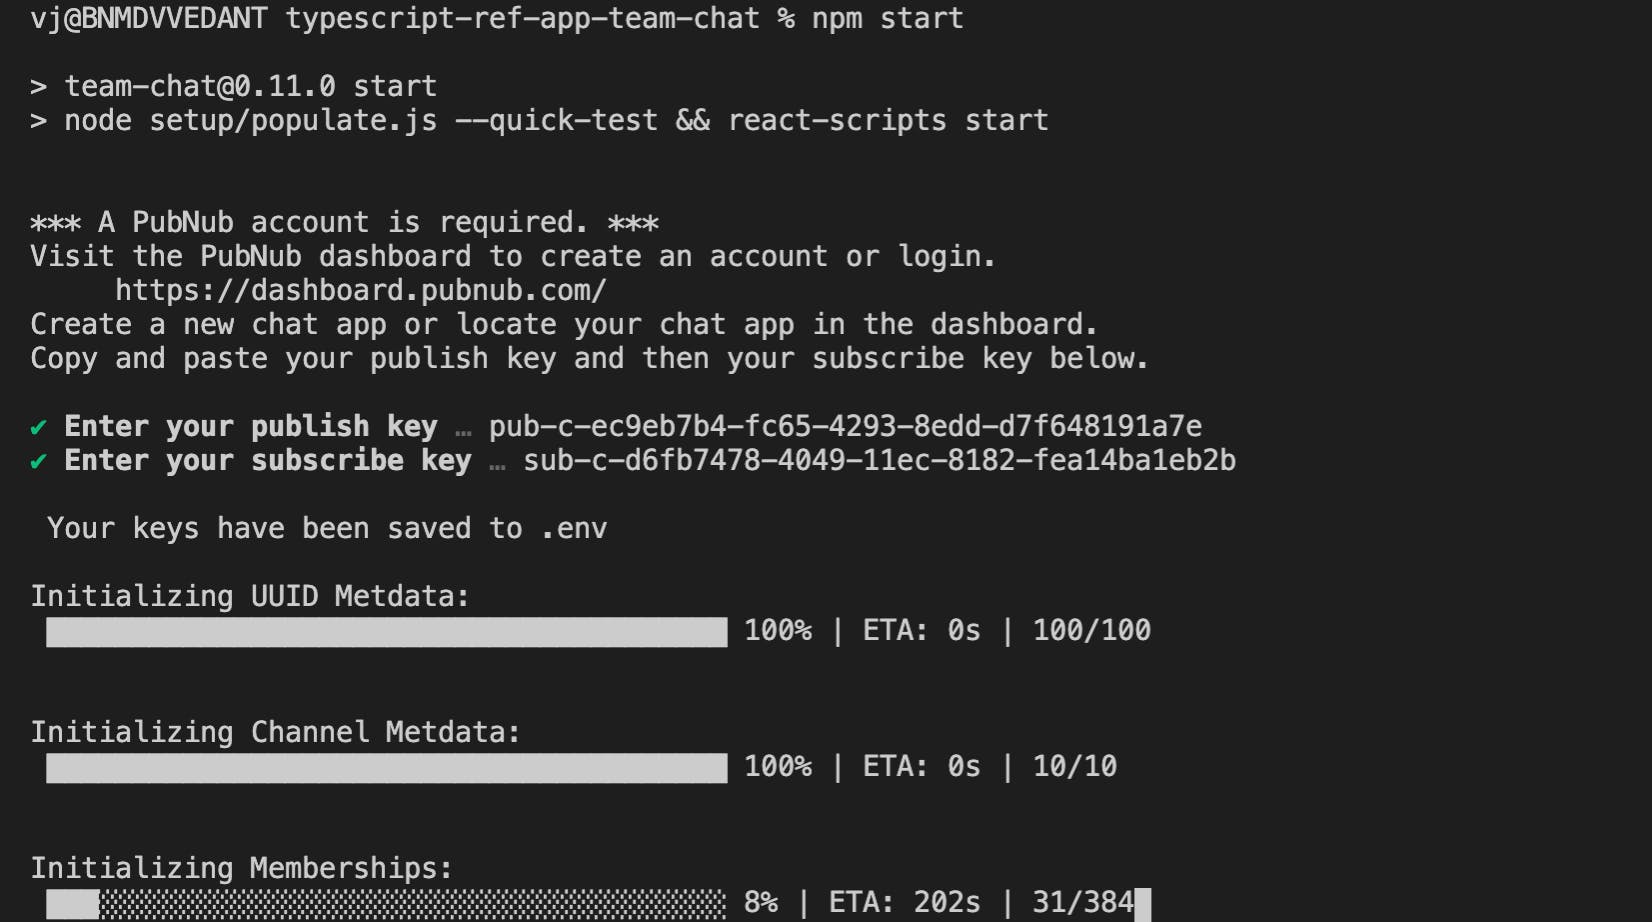
Now we are good to run and test the app. Navigate to the terminal and run the following command:
npm start
You will be asked to enter the publish/subscribe keys which you got from the PubNub Dashboard. By default, it will create a .env file at the project level.
👉 Please note that you can add the API key for any SDK you want to integrate to the same .env file.
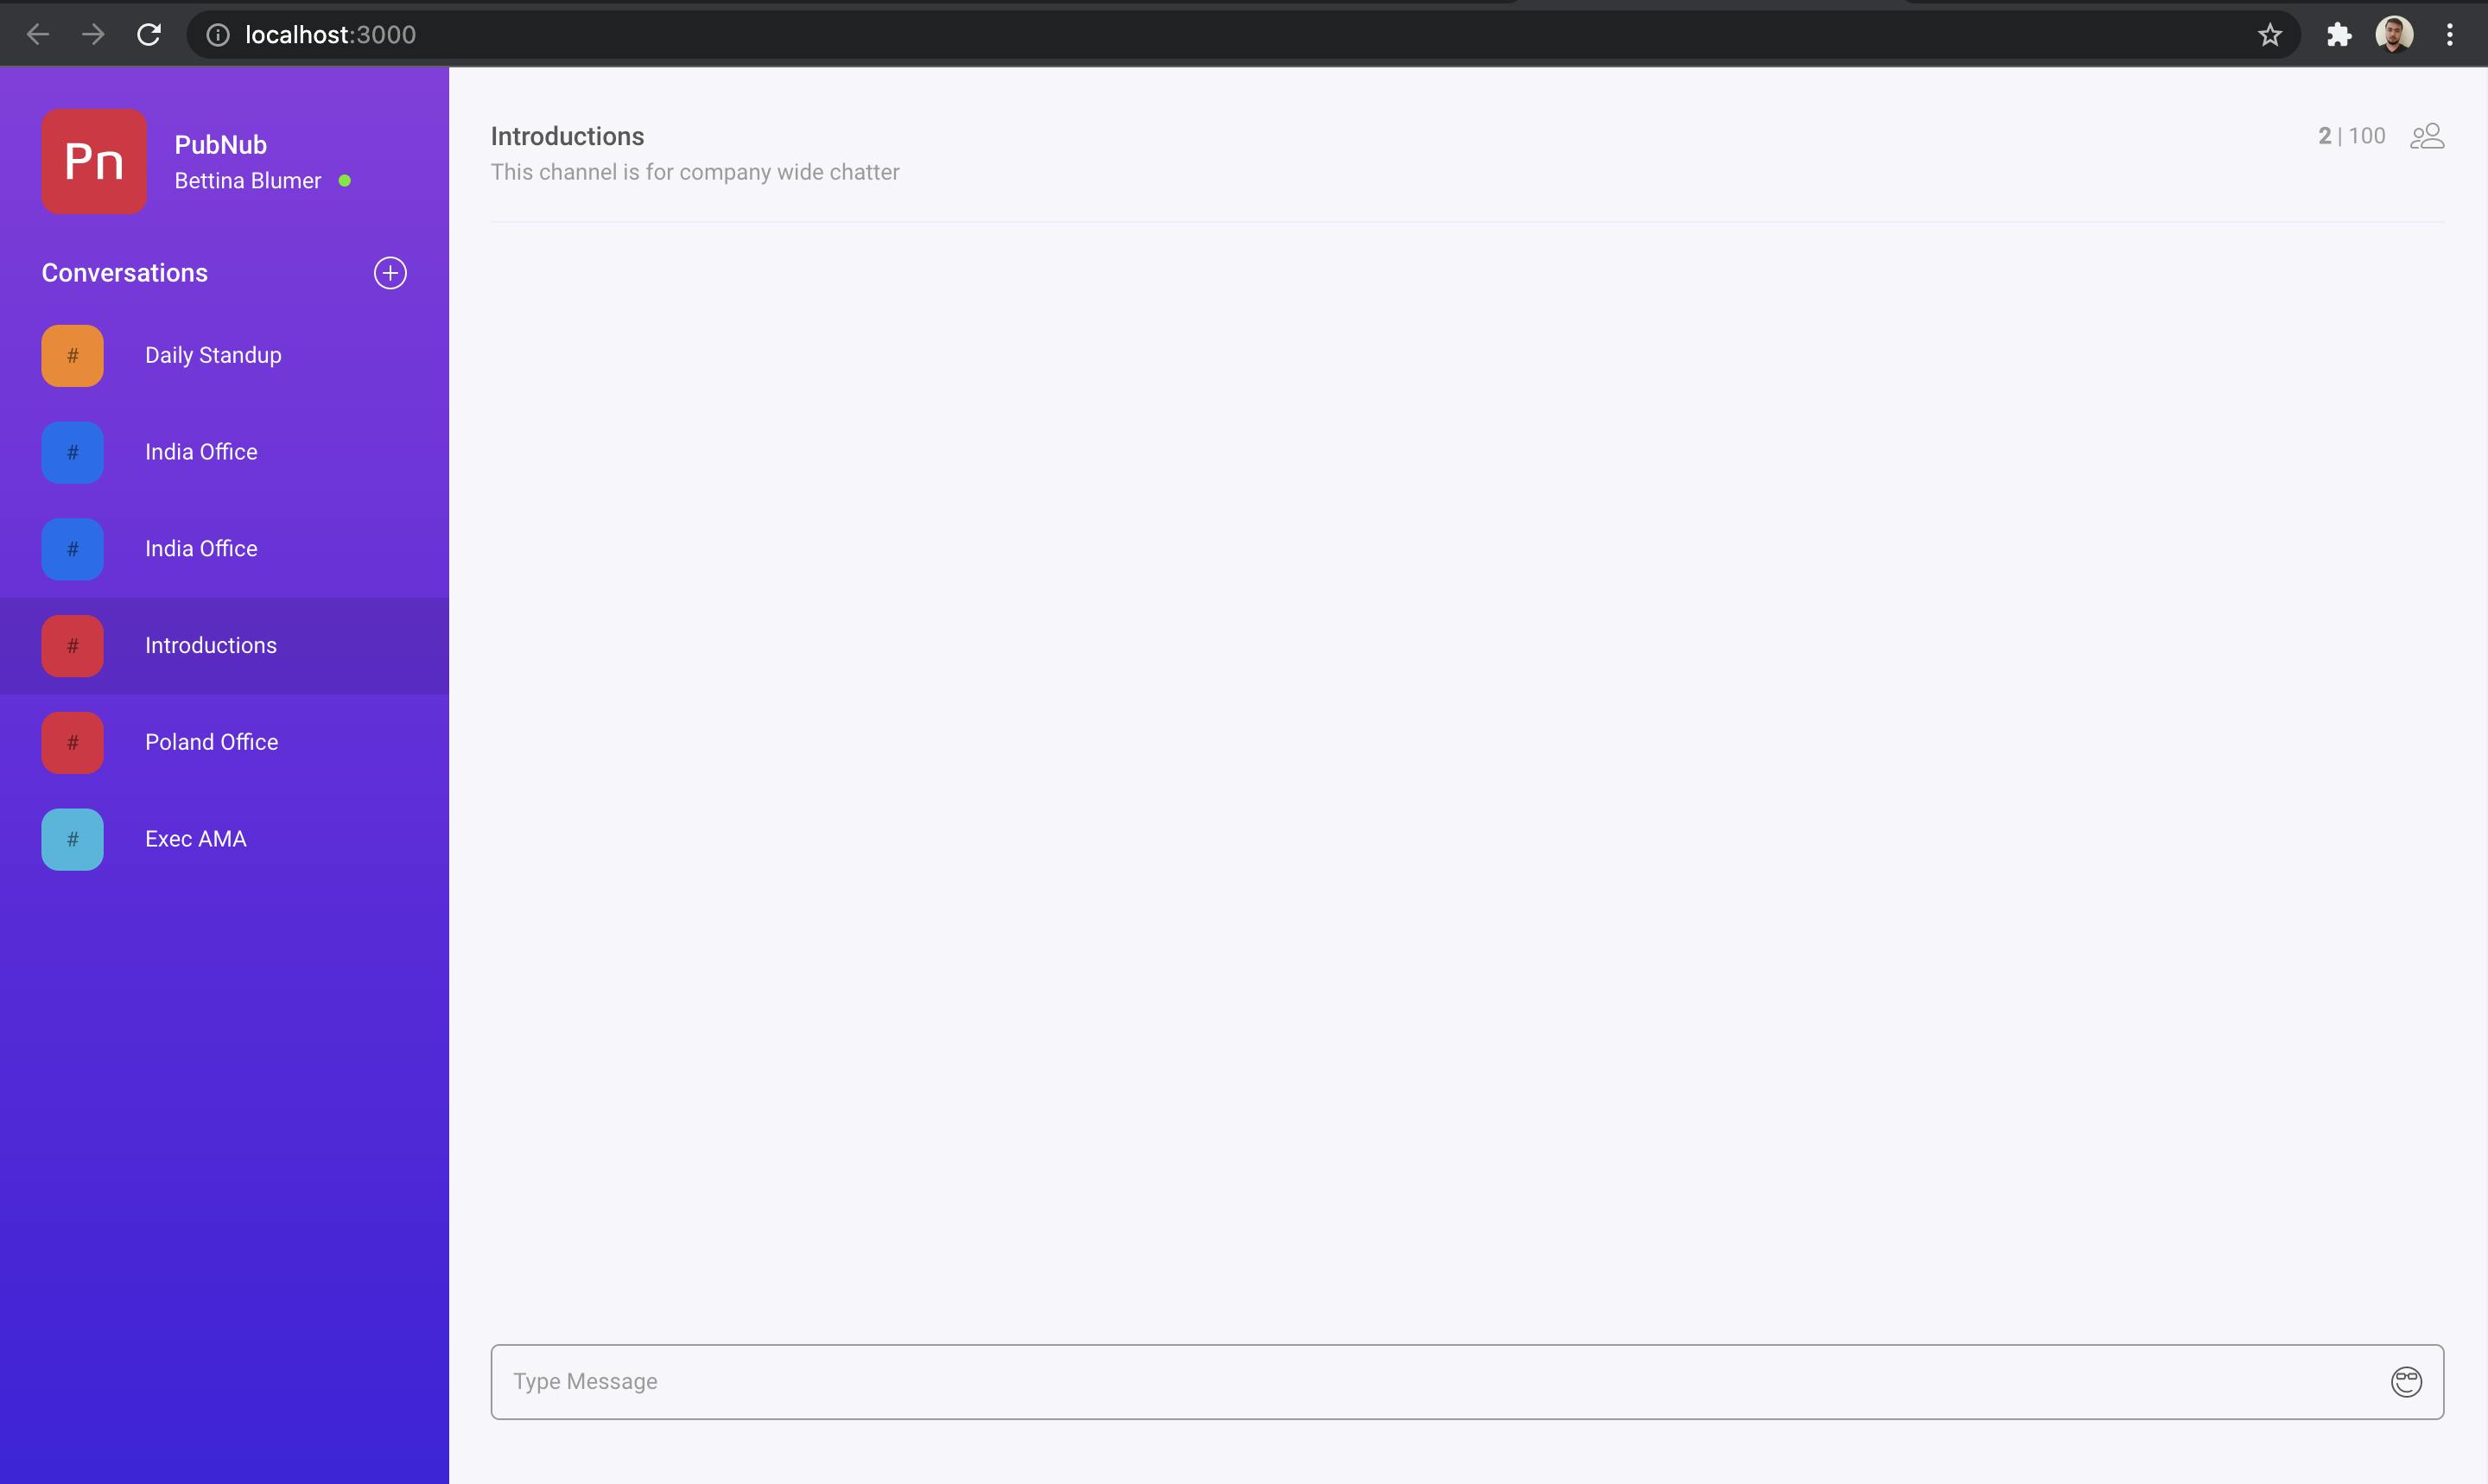
After the successful npm start operation, it will open the login page at localhost:3000. The Login screen contains the randomized username and password, and it will automatically authenticate a random user. You will be able to see the chat app with various users on the right pane.
Voila 🎉 We are successfully able to run the PubNub chat app.
As the next step, we will integrate the Stipop Stickers API, which is listed in PubNub integrations, to make our chat a bit more fun.
Get Stipop API Key
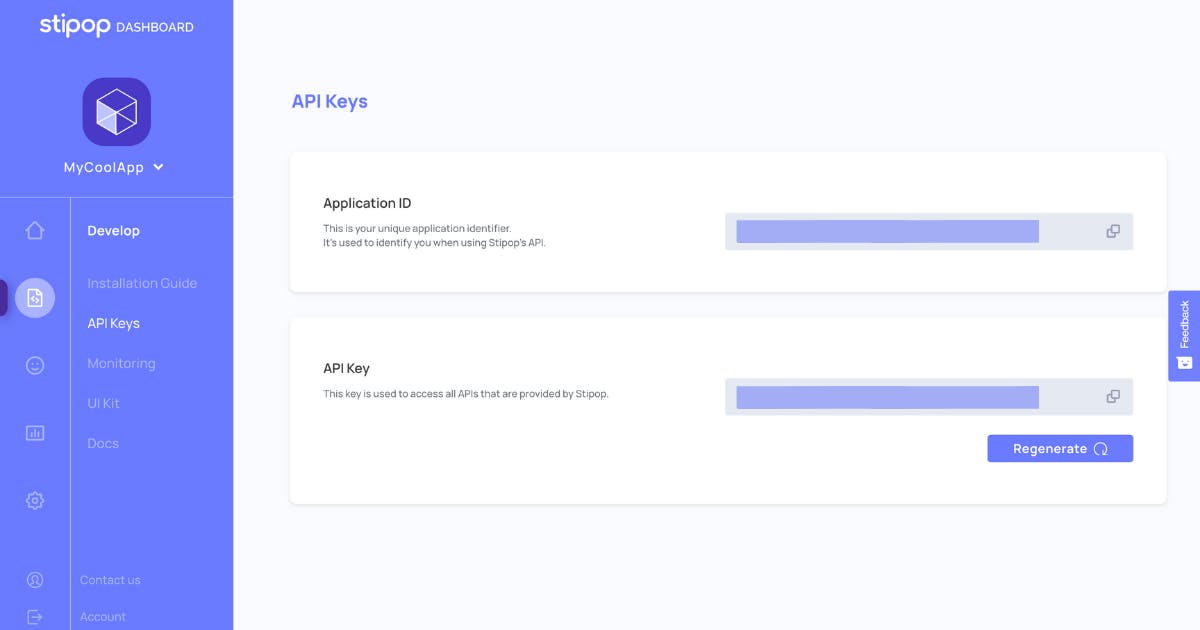
Before we move forward, we need the API Key to integrate Stipop API into our existing PubNub react app. To obtain yours, sign up for a Stipop Dashboard account. After successful sign-in, create an application with your app’s name, region, and the number of monthly active users.
You will be able to see the API Key in the Develop > Keys section of the Dashboard. We will use them in the upcoming steps.
PubNub Function for Stipop API
We will need to set up the PubNub function for making calls to Stipop Best Stickers API. Let’s navigate to the PubNub Stipop Chat Integration and click on try it now.
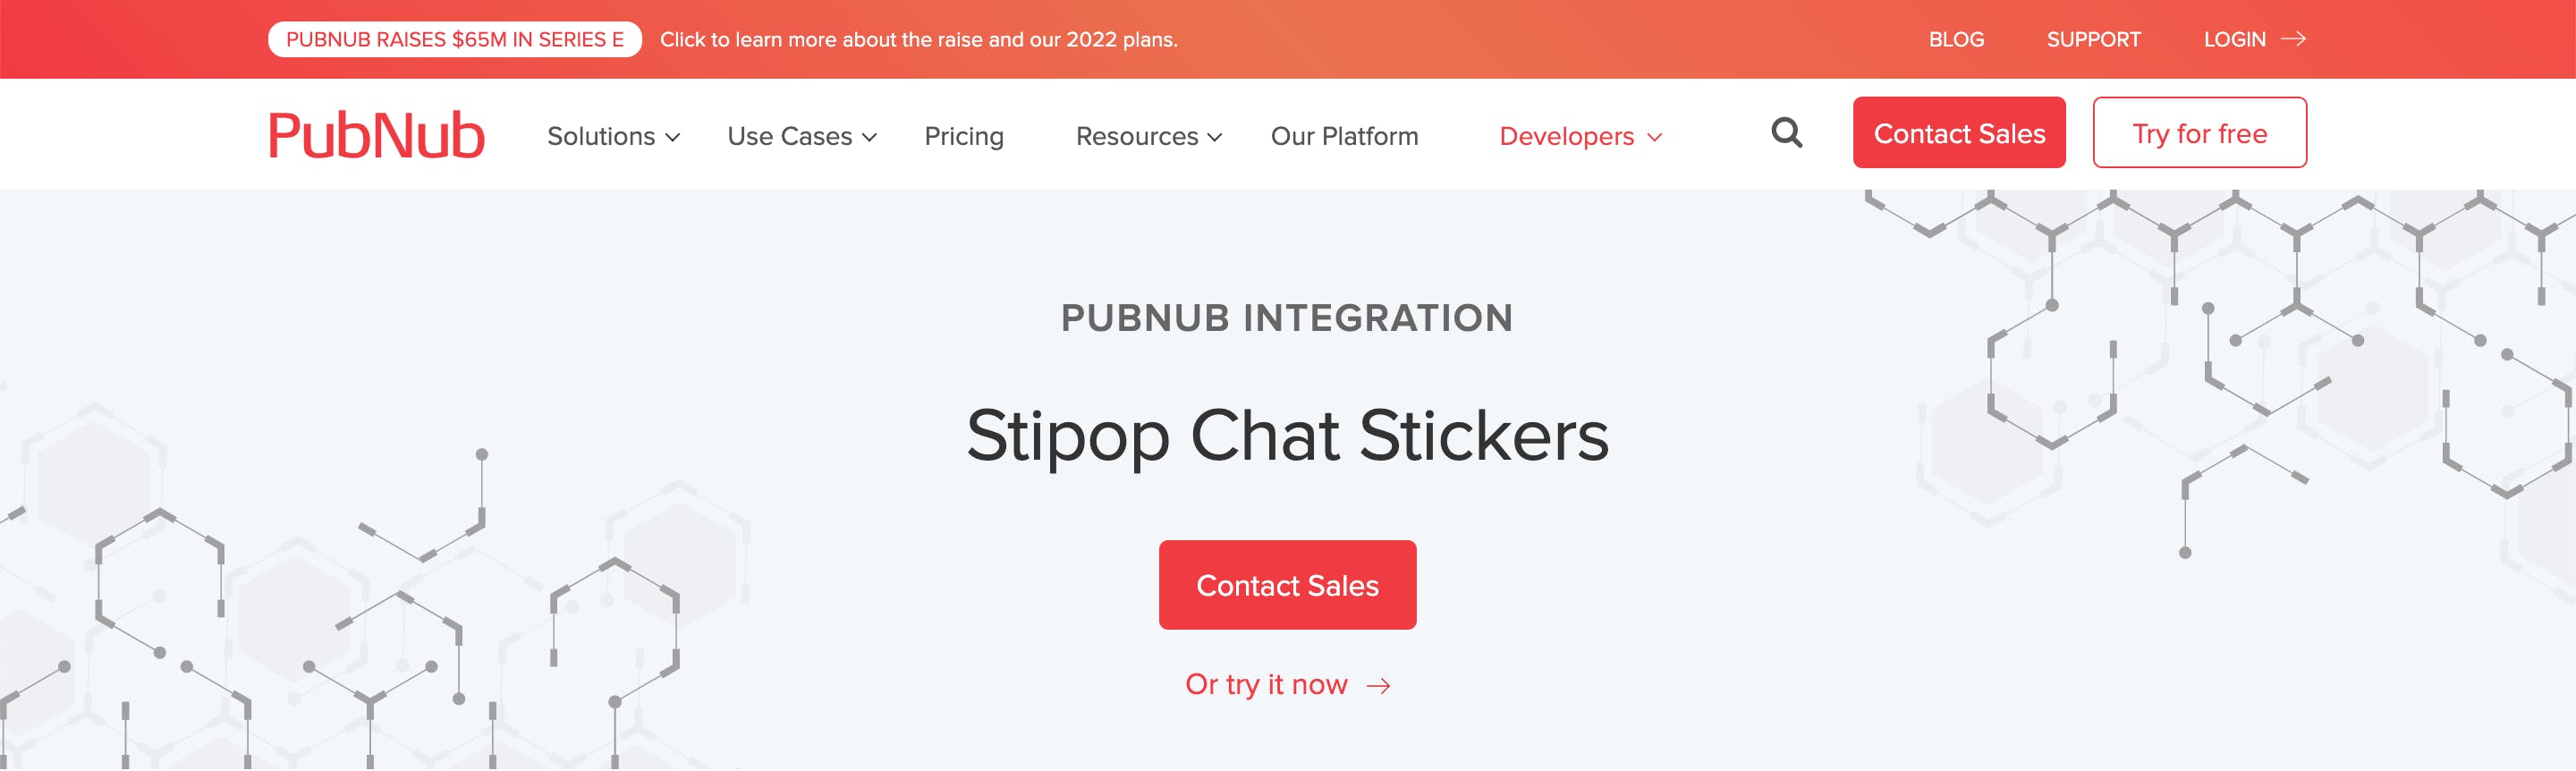
It will open the module integration page for the Stipop Stickers API. Choose the PubNub app which you created along with the respective keyset pair and click on Get Started.
Now click on the My Secrets button on the left, and save the Stipop API key as the value against the key as “Stipop_APIKEY”.
We can update the PubNub Channel PN_CHANNEL to a PubNub messaging channel (for example, Introductions). If you want to deploy PubNub functions for all channels, pass “*” as the value.
Next, we need to set up the PubNub function config by storing it as a variable object.
const functions_config = {
        env: [{name: 'API_URI', value: 'https://bapi.stipop.io/v1/package/best/en'}, {name:'API_KEY_IDENTIFIER', value: 'STIPOP_API KEY'}, {name:'PN_CHANNEL', value: 'Introductions'}, {name: 'CACHE_TTL', value: 1}],
        secrets: ['STIPOP_APIKEY'],
        logger: {}

    };
Use the functions_config object to create an env variable to use in the Stipop API call.
const env = (env_var_name) => {
        return new Promise((resolve, reject) => {
            let val = functions_config['env'].filter(function(env) { return env.name === env_var_name });
            if (val.length == 1) {
                val = functions_config['env'].filter(function(env) { return env.name === env_var_name })[0].value;
                resolve(val);
            } else {
                reject();
            }
        });
    }
We also need to include the dependencies which are necessary for making API calls.
const pubnub = require('pubnub');
const vault = require('vault');
const xhr = require('xhr');
const db = require("kvstore");
We will now use the above config for making best_stickers Stipop API call with xhr requests.
export default (request, response) => {

    return Promise.all([env('API_URI'), env('API_KEY_IDENTIFIER'), env('PN_CHANNEL'), env('CACHE_TTL')]).then(function(result) {
        const API_URI = result[0];
        const API_KEY_IDENTIFIER = result[1];
        const PN_CHANNEL = result[2];
        const CACHE_TTL = result[3];
        return Promise.all([vault.get(API_KEY_IDENTIFIER), db.get(API_URI)]).then((result) => {
            const API_KEY = result[0];
            const CACHED_CONTENT = result[1];

            if (CACHED_CONTENT && (CACHED_CONTENT !== null || CACHED_CONTENT !== undefined)) {
                return pubnub.publish({'channel': PN_CHANNEL, 'message': CACHED_CONTENT}).then((publishedResponse) => { return response.send(CACHED_CONTENT); });
            }

            const CONTENT_TYPE = 'application/json';
            const API_METHOD = 'get';

            const http_options = {
              'Accept': CONTENT_TYPE,
              'Content-Type': CONTENT_TYPE,
              'Access-Control-Allow-Origin': '*',
              'apikey': API_KEY
            };

            return xhr.fetch(API_URI, {headers: http_options,method: API_METHOD})
            .then((response) => response.json())
            .then((responseJson) => {
                db.set(API_URI, responseJson, CACHE_TTL);
                return pubnub.publish({'channel': PN_CHANNEL, 'message': responseJson}).then((publishedResponse) => { return response.send(responseJson); });
            })
            .catch((err) => {
                console.log(err);
                response.status = 400;
                return response.send("Bad Request: Malformed JSON body.");
            });
        })
        .catch((err) => {
            console.log(err);
            response.status = 400;
            return response.send("Bad Request: Vault Error");
        });
    })
    .catch((err) => {
        console.log(err);
        response.status = 400;
        return response.send('bad environment setup');
    });
};
Deploy PubNub Function for Stipop API
Now let’s deploy the API call script on the PubNub Dashboard. Just click on the Restart Module button on the top-right of the Dashboard. You will also be able to see the deployment logs for successful deployment in the PubNub console.
We need to export the API from the PubNub Dashboard and include it in our react functions codebase. Navigate to the functions/src/features and create a package Stipop. We need to rewrite the same API call code snippet in the index.ts file for the Stipop package.
Then we need to run the npm command of deploying functions via terminal.
npm upload:functions
npm deploy:functions
npm start
Now we restart the web app terminal, and you will be able to see the Stipop stickers panel. Please note that custom user accounts can be created in the src/ config/ knownUserIds.json.
We have successfully integrated the Stipop API into our PubNub web chat app. This is how it looks:
All done!
PubNub is really cool when it comes to messaging and publish/subscribe event handling. We encourage you to build your next app with PubNub and add Stipop stickers for a fun and enjoyable chatting experience.
Thanks for reading and happy coding! 😊
⭐️ About Vedant
Vedant Jha is a full-stack developer and a technical writer at Stipop. Have a question about this article? Contact Vedant here.